2. Once the app is installed, go to the prepared early master board and install the appropriate integration recipe following the steps below
Go to the Integrate menu on the top right
Find the Master Data by Mint app in the Integrations Center
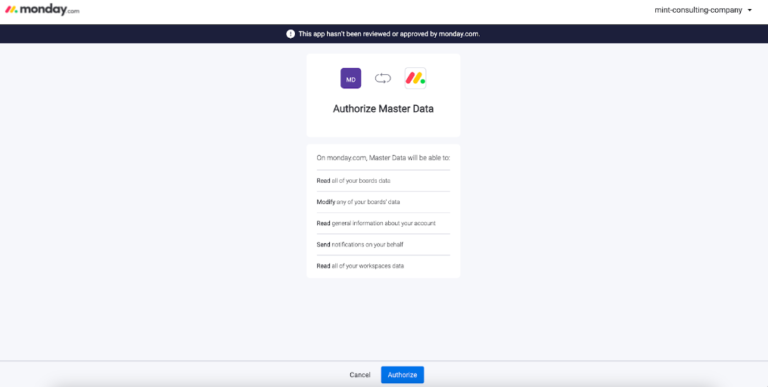
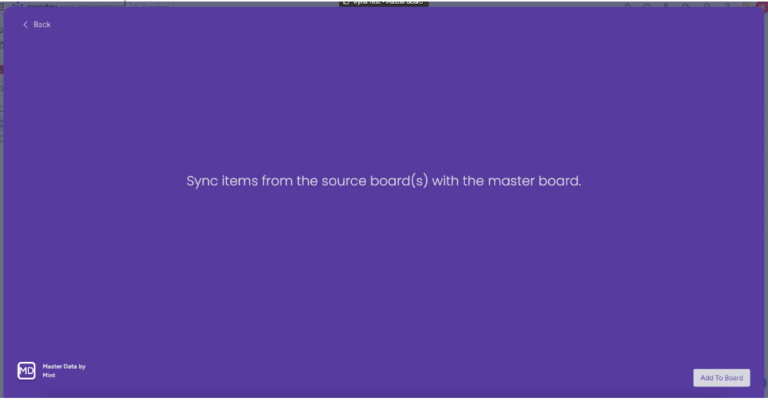
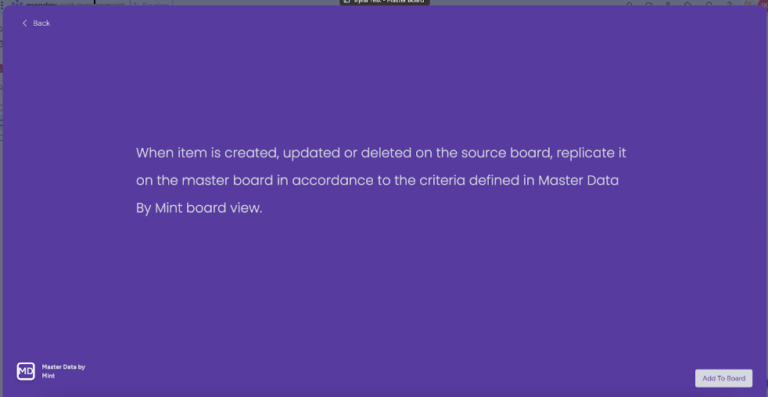
Select integration recipe dedicated to the master board and authorize the app on the 1st recipe installation
Click the “Add to Board” button.
3. Once master board configuration is accomplished, switch to the source board and install the appropriate integration recipe here as well following the same steps as listed above with the only difference in the selected recipe – integration recipe dedicated to the source board should be selected in this case.
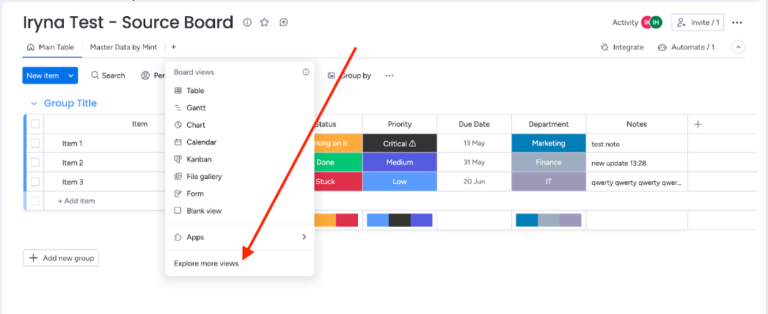
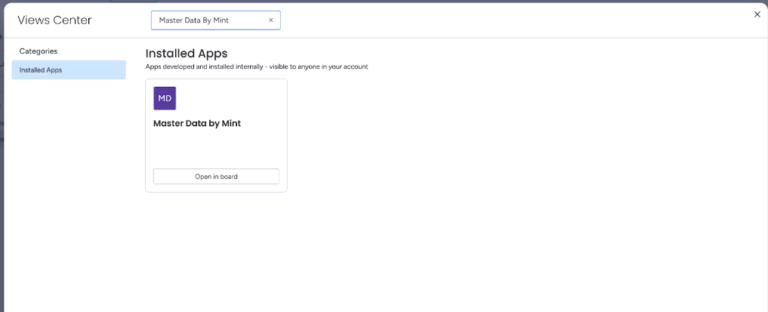
4. Once both master and source boards have integration recipes installed, add ‘Master Data By Mint’ board view to the source board following the steps below:
Click ‘Add view’ button -> Explore more views
Find the ‘Master Data by Mint’ board view and click ‘Open in board’ button
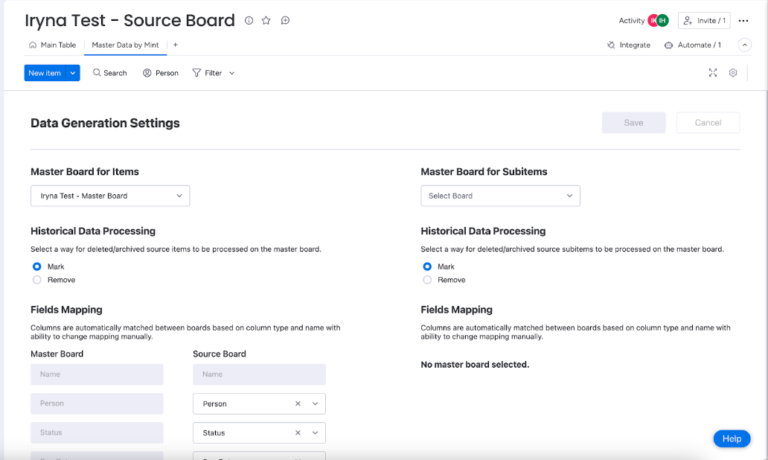
Now when you have the board view added, configure all settings for items and/or subitems data transfer
Select Master board
Establish ‘Historical Data Processing’ option
Check fields mapping and adjust it if needed
Click the ‘Save’ button to apply all established configurations.
Note: All established settings are validated by system to check if everything is configured correctly. Configuration settings can’t be saved until all validation issues are not being resolved.
That’s all! Now each item/subitem created on the source board will be automatically cloned to the master board in accordance with settings established in the ‘Master Data By Mint’ board view.